您现在的位置是:网站首页>>编程开发编程开发
Django个人博客开发(十一)部署
发布时间:2018-04-14 13:04:51分类:编程开发阅读:1433
概述
Django项目开发过程中都是使用其自带的WSGI应用进行web调试。在生产环境中,使用uWSGI作为运行Django项目的服务器,由Nginx作为反向代理,将动态资源的请求传递给uWSGI,而静态资源的请求直接从Nginx返回。
1、架构分析
web客户端——动态资源——》nginx——》uwsgi
——静态资源——》nginx
2、Django项目环境准备
2.1 从Github上Clone代码
sh# pwd
/data/xdsite_prd
sh# git clone https://github.com/xdao07/xdsite.git
2.2准备python环境
(1)安装python
sh# yum install python34
(编译安装python35)
(2)创建virtualenv
sh# # virtualenv -p /usr/local/bin/python3 /data/xdsite_prd/VENV_PY35
(3)临时修改PATH环境变量
sh # export PATH=/data/xdsite_prd/VENV_PY35/bin:$PATH
2.3在virtualenv环境下安装项目的requirements.txt文件
sh# pip install -r /data/xdsite_prd/xdsite/requirements.txt
2.4准备mysql环境
(1)安装mysql
添加percona的yum源文件
Sh# yum install http://www.percona.com/downloads/percona-release/redhat/0.1-3/percona-release-0.1-3.noarch.rpm
安装Percona-Server-server-56
Sh# yum install Percona-Server-server-56
(2)配置mysql
sh# cat /etc/my.cnf
[mysqld] datadir=/var/lib/mysql socket=/var/lib/mysql/mysql.sock # Disabling symbolic-links is recommended to prevent assorted security risks symbolic-links=0 # Recommended in standard MySQL setup sql_mode=NO_ENGINE_SUBSTITUTION,STRICT_TRANS_TABLES user=mysql # Default to using old password format for compatibility with mysql 3.x # clients (those using the mysqlclient10 compatibility package). skip-name-resolve log-bin=mysql-bin binlog-format=mixed expire_logs_days=7 server-id=250 character_set_server=utf8 port=8801 innodb_flush_log_at_trx_commit = 1 innodb_flush_method=O_DIRECT innodb_file_per_table = 1 slow_query_log=1 long_query_time=5 log-queries-not-using-indexes slow_query_log_file=/var/lib/mysql/slow_query.log [mysqld_safe] log-error=/var/log/mysqld.log pid-file=/var/run/mysqld/mysqld.pid [client] default-character-set=utf8 port=3306 [mysql](3)启动mysql
sh # systemctl status mysqld.service
(4)创建项目数据库db_xdsite
sh# # mysql -uroot -p -e "CREATE database db_xdsite DEFAULT CHARACTER SET utf8 COLLATE utf8_general_ci;"
(5)创建用户并授权
sh# grant all privileges on db_xdsite.* to ‘xdsite’@’%’ identified by ’123456’;
2.5准备redis环境
(1)安装redis
sh# yum install redis
(2)启动redis
sh# systemctl start redis
3、配置生产环境下的settings.py文件
3.1修改xdsite/settings.py文件(主要修改如下几处)
SECRET_KEY = '7tmz(13@)v@s(f$4dk7^7qb^l_ng$y&fh@^$d2z(l^h-ub(=yz'

DEBUG = False

ALLOWED_HOSTS = ['*']

DATABASES = {
    'default': {
        'ENGINE': 'django.db.backends.mysql',
        'NAME': 'db_xdblog',
        'HOST': '127.0.0.1',
        'PORT': '3306',
        'USER': 'webapp',
        'PASSWORD': 'web123456app',
    }
}

# cache 配置为Redis Backends
CACHES = {
    "default": {
        "BACKEND": "django_redis.cache.RedisCache",
        "LOCATION": "redis://127.0.0.1:6379/1",
        "OPTIONS": {
            "CLIENT_CLASS": "django_redis.client.DefaultClient",
        }
    }
}

"""
自定义变量
"""
# 导航【技术杂谈】分类id列表
NAV_JSZT_CATEGORY = (1, 2, 3, 4, 5)
# 导航【生活随笔】分类id列表
NAV_SHSB_CATEGORY = (7, 6)
# 分页,每页显示记录条数
PER_PAGE = 2

# 网站基本信息
SITE_NAME = u'Django个人博客——江南墨卷'
SITE_DESC = u'天将降大任于是人也,必先苦其心志,劳其筋骨,饿其体肤,空乏其身,行拂乱其所为,所以动心忍性,曾益其所不能。'
SITE_KEYWORDS = u'运维,开发,Linux,数据库'
SITE_BEIAN = u'粤ICP备11111111号'
PRO_EMAIL = u'admin@example.cn'
当设置DEBUG=False时,就必须在Django框架前端部署nginx或者其他web服务器来提供静态访问入口,否则需要在项目的urls.py中设置static路由到STATIC_ROOT。
3.2修改xdsite/urls.py文件
urlpatterns = [
	……省略部分……
    # 当设置DEBUG=False时,就必须在Django框架前端部署nginx或者其他web服务器来提供静态访问入口,否则需要如此设置static的url
    url(r"^static/(?P<path>.*)$", static.serve, {"document_root": settings.STATIC_ROOT}),
]
4、初始化项目数据库
Sh# python manage.py makemigrations
Sh # python manage.py migrate
5、同步项目静态文件到settings.py/STATIC_ROOT指定的目录
Sh# python manage.py collectstatic
6、使用 uWSGI来部署项目
6.1安装uWSGI
sh# yum install uwsgi
6.2 uWSGI运行项目
sh# # uwsgi --chdir /data/xdsite_prd/xdsite --home /data/xdsite_prd/VENV_PY35 --http :8000 --module xdsite.wsgi
其中,
--chdir指定项目路径;
--home指定python virtualenv路径;
--module指定项目wsgi文件
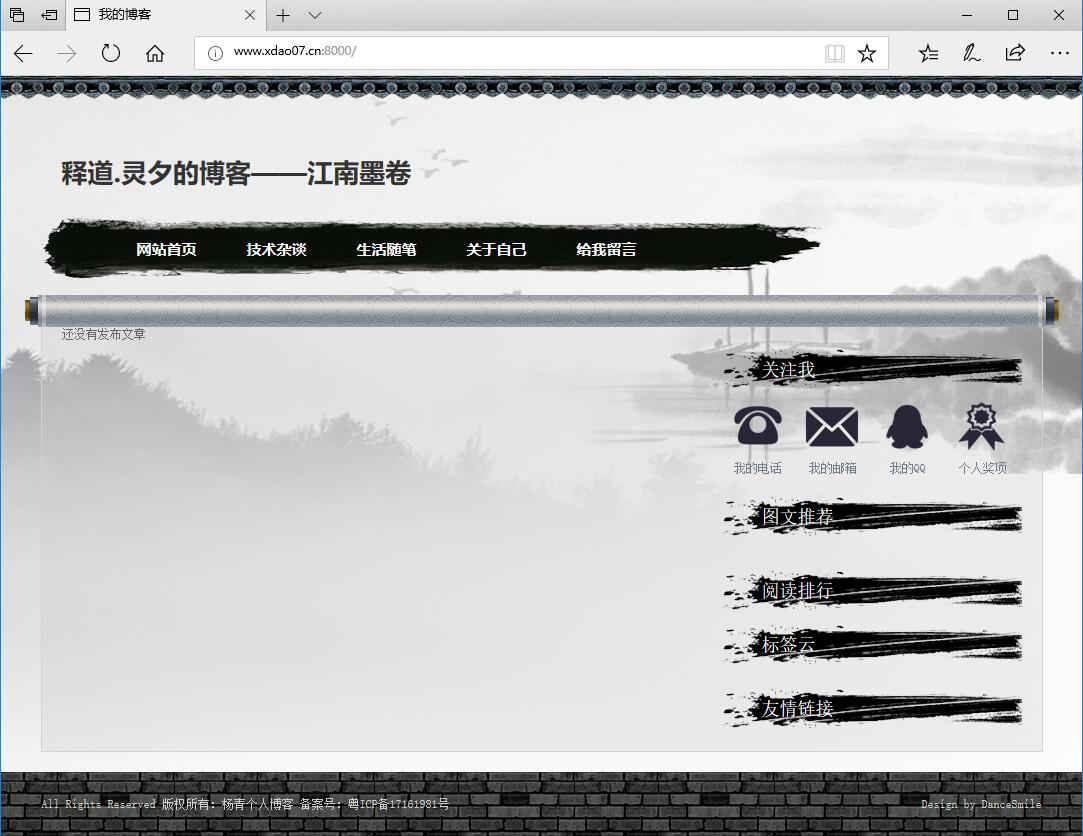
6.3浏览器中测试项目是否正常

7、使用supervisor管理uwsgi进程
7.1 安装supervisor
sh# yum install supervisor
7.2 配置supervisor
sh# cat /etc/supervisord.conf
……省略部分……
[program:xdsite]
; command指定需要管理进程的运行命令,此处即之前的uwsgi运行代码命令
command= uwsgi --chdir /data/xdsite_prd/xdsite --home /data/xdsite_prd/VENV_PY35 --http :8000 --module xdsite.wsgi
; directory指定项目路径
directory=/data/xdsite_prd/xdsite
startsecs=0
stopwaitsecs=0
autostart=true
autorestart=true
7.3 操作supervisor服务(顺带启动管理的进程服务)
sh# supervisord -c /etc/supervisord.conf
7.4 操作supervisor管理的进程服务(启动/停止/重启)
sh# supervisorctl -c /etc/supervisord.conf [start | stop | restart] xdsite
7.5 使用文件来配置supervisor管理的进程服务
说明:前面几步已经能正常使用supervisor进行进程管理,但为了方便操作单个进程服务,可以使用额外的配置文件来配置单个进程服务
(1)项目路径下创建一个ini配置文件,其中的内容为uwsgi命令运行的参数
sh# cat /data/xdsite_prd/xdsite/uwsgi.ini
# uwsgi.ini file [uwsgi] # Django-related settings # the base directory (full path) chdir = /data/xdsite_prd/xdsite # Django's wsgi file module = xdsite.wsgi # touch指定的文件进程就会reload touch-reload = /data/xdsite_prd/xdsite/reload # the virtualenv (full path) home = /data/xdsite_prd/VENV_PY35 # process-related settings # master master = true # maximum number of worker processes processes = 2 threads = 2 # the socket (use the full path to be safe #http =:8000 # uwsgi以套接字方式运行,可以nginx中配置反向代理到此socket socket = /data/xdsite_prd/xdsite/xdsite.sock # ... with appropriate permissions - may be needed uid = www gid = www chmod-socket = 664 # clear environment on exit vacuum = true daemonize=/var/log/uwsgi/xdsite.log(2)修改项目目录属组
sh# chown -R www:www /data/xdsite_prd/xdsite
(3)修改/etc/supervisord.conf配置文件
sh# cat /etc/supervisord.conf
……省略部分…… [program: xdsite] # command指定需要管理进程的运行命令,此处为uwsgi命令使用ini配置文件方式 command=/usr/local/bin/uwsgi --ini /data/xdsite_prd/xdsite/uwsgi.ini # directory指定项目路径 directory=/data/xdsite_prd/xdsite restartsecs=0(4)更新新的配置到supervisord并重启supervisord的xdsite进程
sh # supervisorctl update
sh# supervisorctl -c /etc/supervisord.conf restart xdsite
8、使用Nginx反向代理uWSGI
8.1 安装Nginx
sh# yum install nginx
8.2 配置Nginx
(1)Nginx服务配置文件
sh# cat /etc/nginx/nginx.conf
user nginx;
worker_processes auto;
error_log /var/log/nginx/error.log;
pid /run/nginx.pid;

# Load dynamic modules. See /usr/share/nginx/README.dynamic.
include /usr/share/nginx/modules/*.conf;

events {
    worker_connections 1024;
}

http {
    log_format  main  '$remote_addr - $remote_user [$time_local] "$request" '
                      '$status $body_bytes_sent "$http_referer" '
                      '"$http_user_agent" "$http_x_forwarded_for"';

    access_log  /var/log/nginx/access.log  main;

    sendfile            on;
    tcp_nopush          on;
    tcp_nodelay         on;
    keepalive_timeout   65;
    types_hash_max_size 2048;

    include             /etc/nginx/mime.types;
    default_type        application/octet-stream;

    # Load modular configuration files from the /etc/nginx/conf.d directory.
    # See http://nginx.org/en/docs/ngx_core_module.html#include
    # for more information.
include /etc/nginx/conf.d/*.conf;
}
(2)Nginx网站配置文件
sh# cat /etc/nginx/conf.d/xdsite.conf
upstream xdsite {
    server unix:///data/xdsite_prd/xdsite/xdsite.sock;
}

server {
    listen      80;
    server_name www.xdao07.cn blog.xdao07.cn 119.29.59.43;
    charset     utf-8;
    access_log  /var/log/nginx/xdsite_access.log  main;
    error_log /var/log/nginx/xdsite_error.log;

    client_max_body_size 75M;

    location /static {
       alias /data/xdsite_prd/xdsite/staticfiles;
    }

    location / {
#        uwsgi_pass  unix:///home/xdao07/web_demo01/xdweb/xdsite.sock;
        uwsgi_pass  xdsite;
        include     /etc/nginx/uwsgi_params;
    }
}
(3)检查配置是否正确
sh# nginx -t
(4)重启Nginx服务
sh# nginx -s reload
9、创建后台管理员用户,登录后台添加数据
9.1创建管理员用户
sh # python manage.py createsuperuser
Username (leave blank to use 'root'): admin
Email address: user@example.com
Password: *********
Password (again): ********
Superuser created successfully.
9.2登录默认后台
10、添加计划任务,定时同步缓存与数据库中文章点击数,并记录日志
*/1 0 * * * /usr/bin/echo "[$(/usr/bin/date +'%F %T')] $(/usr/bin/curl -s 'http://www.xdao07.cn/sync-hits-cache-to-db/')" >> /var/log/messages 2>&1